How to Check Vintage Speakers Before Connecting Them
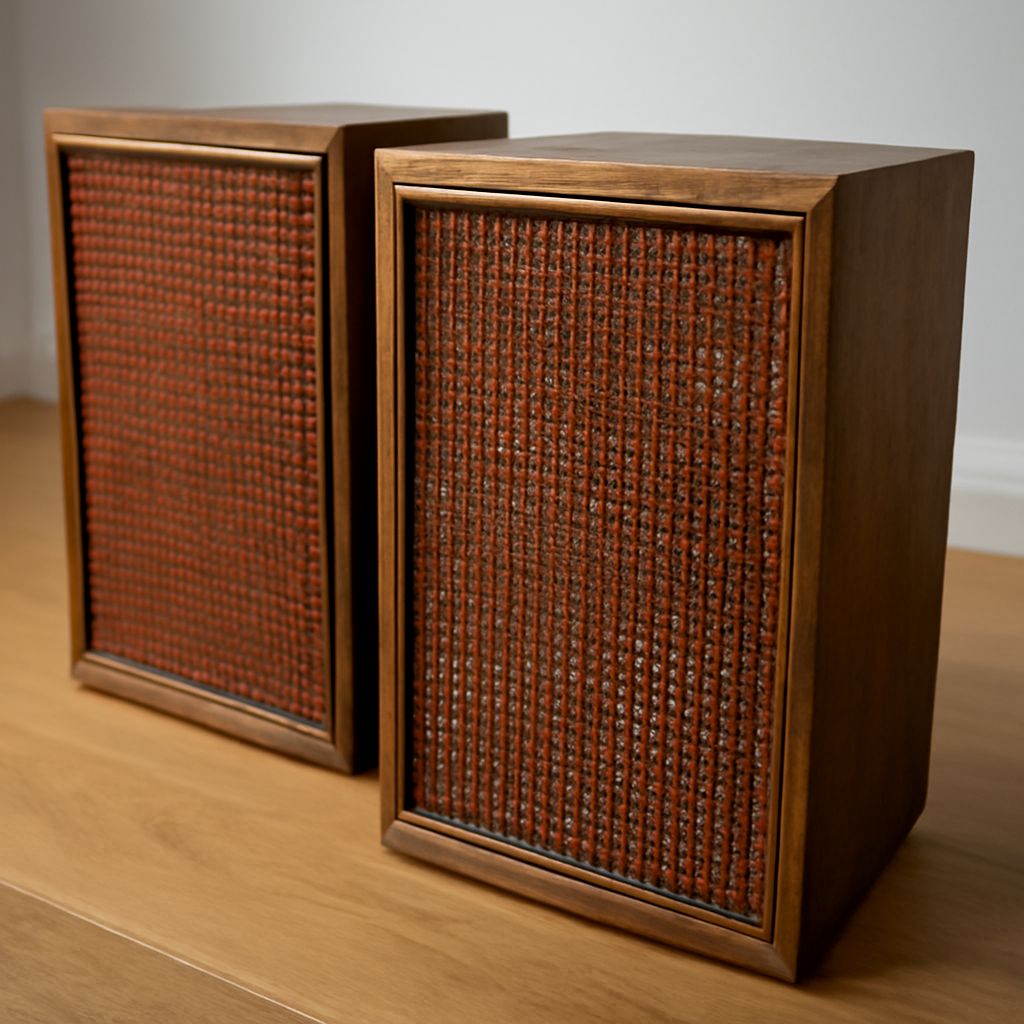
Switch the amplifier off and inspect the older speakers before connecting any wires. Look for damaged drivers, loose terminals and a readable impedance rating, then confirm that the amplifier supports that load. A pair of classic stereo speakers deserves a careful first listen at low volume only after those checks are complete.
Old school speakers: start with a visual check
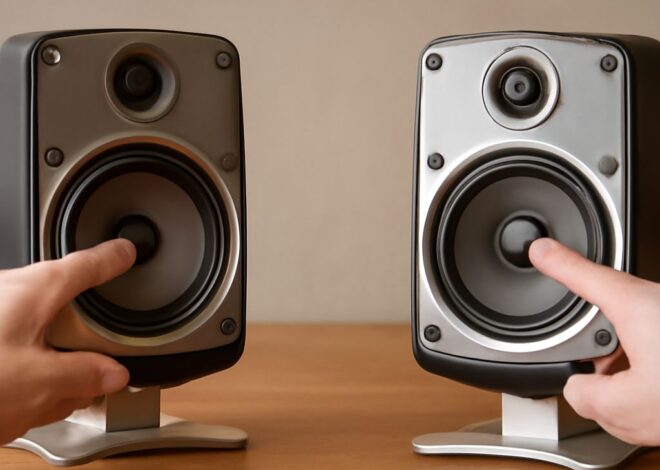
Place each aging loudspeaker on a stable surface and look for water damage, loose panels or a damaged grille. Remove the grille only if it is designed to come off easily. Do not push on the speaker cones: the thin material and parts beneath it can be damaged.
Inspect each driver, the part that moves to produce sound. Look for tears in the cone and deterioration around its outer edge, known as the surround. Foam surrounds can crumble with age. With old school speakers, a deteriorated surround is a reason to stop and seek a speaker repair specialist before playing them; movement during a test can worsen the damage.
Look at the rear terminals and any attached wire. Loose connections, exposed conductors or heavy corrosion need attention before a test. If a cabinet has a damaged power cord or an electrical plug, treat it as powered equipment and do not connect it to a speaker output. Have a qualified technician inspect it.
Confirm impedance and amplifier compatibility
Find the model number and documented nominal impedance on the rear label or in the manufacturer’s manual. Impedance, measured in ohms, describes the electrical load the speaker presents to an amplifier. Compare that rating with the permitted speaker load in your amplifier’s manual, including any settings or restrictions for the number of pairs connected.
For example, if the amplifier specifies a minimum of 8 ohms per channel for the intended connection, do not connect a speaker rated at 4 ohms to that output. Lower impedance can demand more current. Yamaha’s guide explains how connecting speakers in parallel changes the load. For the initial test, connect vintage speakers one per channel only if compatible, and follow the amplifier’s instructions.
If the rating is missing, unclear or inconsistent with the model documentation, pause and ask a technician to identify and assess the speaker. An unfamiliar label is not a reason to guess. Similarly, a multimeter’s resistance reading is not a direct substitute for the speaker’s nominal impedance rating.
Connect the pair with power off
Once compatibility is established, turn the amplifier off and disconnect it from power before wiring. Use the appropriate speaker output and cable for a passive speaker. Connect positive to positive and negative to negative on each channel, following the markings in the manuals. Keep left and right connections consistent.
Make sure each conductor is secure and that no stray wire strand bridges the positive and negative terminals. A short can cause the amplifier to shut down or sustain damage. If the connectors are unfamiliar, consult the equipment instructions or a technician rather than improvising an adapter. Do not connect a speaker directly to a phone’s headphone jack or a line-level output expecting it to work as a passive loudspeaker.
Vintage speakers can have terminals that loosen with handling. Recheck both ends before powering the amplifier, and keep the cables where they cannot be pulled loose. Avoid changing connections while the equipment is on.
Listen gently and stop for trouble
Set the volume to its minimum, select a familiar recording and turn the amplifier on. Raise the volume slowly to a quiet listening level. Play a short passage with voices and a range of instruments, then compare left and right. Differences in recording or placement can affect the balance, so listen to more than one passage before drawing conclusions.
Stop immediately if you hear scraping, repeated buzzing or obvious distortion at low volume, or if one channel cuts out. Turn the amplifier off. Also stop for a burning smell, smoke, excessive heat or an amplifier protection warning; disconnect power when safe. Do not keep increasing volume to make a silent driver respond.
If vintage stereo speakers sound uneven, a technician can check drivers, connections and internal components. An older stereo pair with a crumbling surround or damaged terminal should be assessed before further use. Photograph the problem and note the model number and symptoms so the specialist knows what to inspect.
Use the result to decide the next step
A clean visual inspection, documented compatibility and balanced, undistorted low-volume playback support further cautious listening. Scraping or a failing surround points to a speaker problem that needs inspection; a protection warning or shorted wire calls for the system to be checked before another test. Careful diagnosis gives classic loudspeakers a safer path back into use.