Connect Printer to Computer: Setup Guide for USB, Wi-Fi, and Network Printers
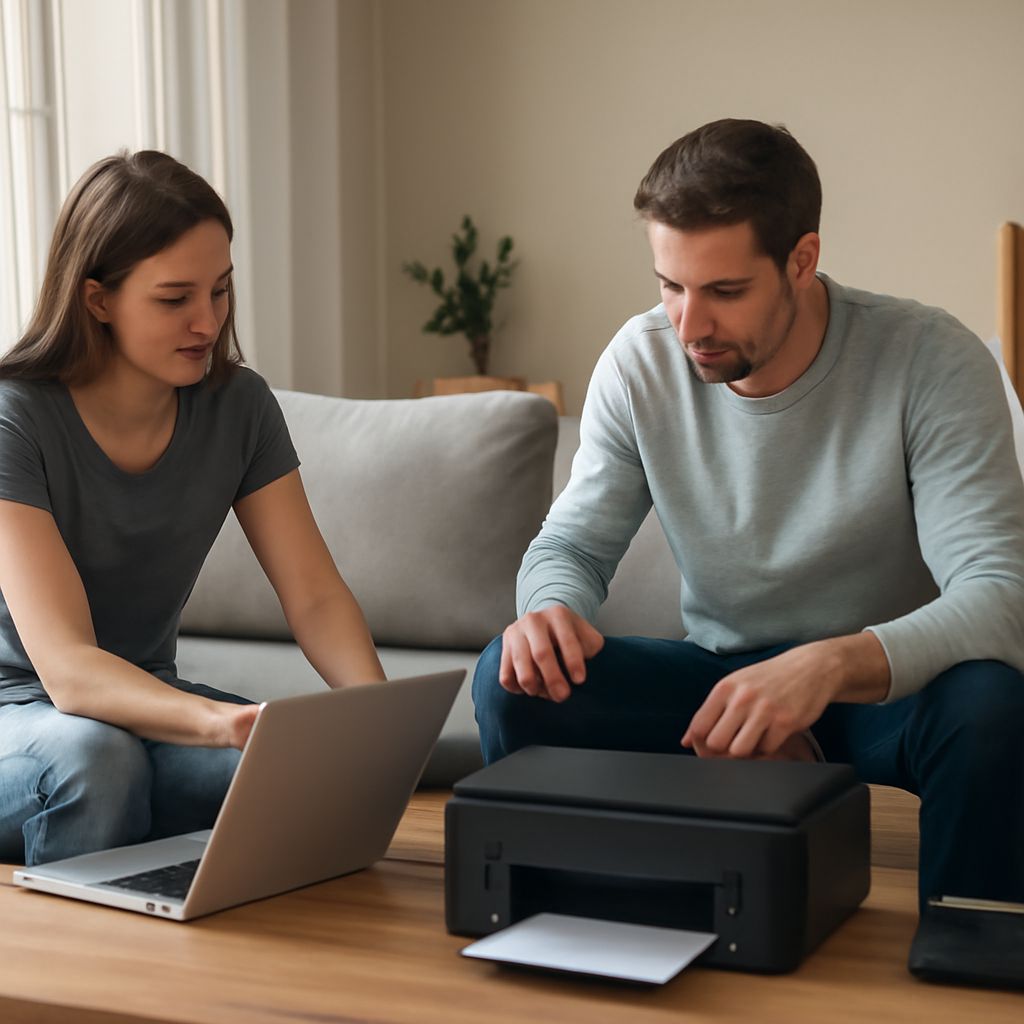
You unboxed a new printer, plugged something in, and now Windows is asking for a driver you can’t find. Or your Wi-Fi printer shows up in the app but refuses to print. Getting a printer to connect to a computer is one of those tasks that should take five minutes but can drag on for an hour if you hit the wrong step. Knowing how to connect computer to printer properly, whether via USB cable, wireless network, or wired LAN, saves time and frustration. Setting up a network printer is particularly valuable in shared environments where multiple devices need access to one machine. When you need to know how to connect printer to PC running Windows 10 or 11, the process differs slightly from macOS. And understanding how to connect PC to printer through a print server or shared network folder adds another layer of flexibility for office setups.
This guide walks through every connection method clearly, from simple USB plug-in to full network configuration.
USB Connection: The Simplest Method
Windows USB Setup
Connecting a printer to a computer via USB is the most reliable method. Plug the cable in, let Windows detect the device, and follow the driver installation wizard. Most modern printers appear automatically through Windows Update driver delivery. If the auto-install fails, visit the manufacturer’s website and download the full driver package directly. Avoid generic drivers when possible — brand-specific drivers unlock features like duplex printing and ink level monitoring.
macOS USB Connection
On Mac, go to System Settings, select Printers & Scanners, click the plus button, and choose your USB-connected printer from the list. macOS downloads AirPrint-compatible drivers automatically for most brands. For advanced features, download the manufacturer’s full software suite.
Wi-Fi Printer Setup
Wireless printer connection works through your router. On the printer’s control panel, navigate to Wireless Settings or Network Setup, select your Wi-Fi network name, and enter the password. Once connected, add the printer on each computer through Settings > Printers & Scanners on Windows or macOS. For printers without a touchscreen, use WPS (Wi-Fi Protected Setup) by pressing the WPS button on your router and the WPS button on the printer within two minutes of each other.
Setting Up a Network Printer
A networked printer connected via Ethernet cable gets a fixed IP address and can be accessed by all devices on the same network. Assign a static IP address through your router’s DHCP reservation settings using the printer’s MAC address. Then add the printer on each computer using its IP address. This method is more stable than Wi-Fi for office environments because wired connections don’t drop when the wireless signal fluctuates.
Troubleshooting Common Connection Problems
- Printer not detected via USB: Try a different USB cable and port; install drivers before connecting
- Wi-Fi printer not found: Check that the printer and computer are on the same network band (2.4 GHz vs 5 GHz)
- Network printer offline: Verify IP address hasn’t changed; set a static IP to prevent this
- Driver errors: Uninstall existing drivers completely, restart, then reinstall from the manufacturer’s site
Sharing a Printer Across Multiple Computers
Windows allows printer sharing through the printer’s Properties menu. Enable sharing, give the printer a network name, then connect other PCs to it by navigating to Add a Printer > Network Printer and entering the host computer’s name and the shared printer’s name. This works well in small offices where one computer stays on and acts as a print server.
Next steps: Once your printer is connected and printing test pages successfully, configure default paper size, quality settings, and duplex options to match your typical workload. Set up automatic driver updates so connection issues from firmware changes are handled automatically.