3D Printer Enclosure: DIY Builds, Kits, and Why You Need One
Your ABS prints keep warping and you’re losing hours of print time to failed jobs. A 3d printer enclosure is the most effective single upgrade for solving temperature-related print failures. Whether you’re considering a diy 3d printer enclosure built from an IKEA cabinet, looking at a purpose-made 3d printer enclosure kit, or wondering how a 5 axis 3d printer fits into a professional workflow, keeping your machine in a controlled thermal environment makes a measurable difference. A proper 3d printer case also reduces noise, filters fumes from ABS and resin printing, and protects the machine from dust accumulation. This guide covers every approach from budget builds to premium kits.
Why Enclosures Matter for Print Quality
Open-frame 3D printers suffer from ambient air currents that create temperature gradients across the build plate. These gradients cause layer delamination and warping — especially in engineering materials like ABS, ASA, and nylon. Enclosing a 3D printing machine traps the heat output from the heated bed, raising the ambient temperature inside to 40–50°C. This keeps each layer at a more consistent temperature as the next one bonds. A 3D printer housing also shields the print from drafts caused by HVAC vents, open windows, or foot traffic. Printers running flexible filaments like TPU also benefit from enclosure because consistent temperature reduces inconsistent extrusion.
Materials That Need Enclosure vs. Those That Don’t
PLA prints well without an enclosure because it bonds at lower temperatures and isn’t prone to warping. ABS, ASA, PC, and nylon all require enclosed printing for reliable results. PETG is borderline — most users get better surface finish in a 3D printer case, but it’s not strictly necessary. Resin printers always need a case to contain fumes.
DIY 3D Printer Enclosure Approaches
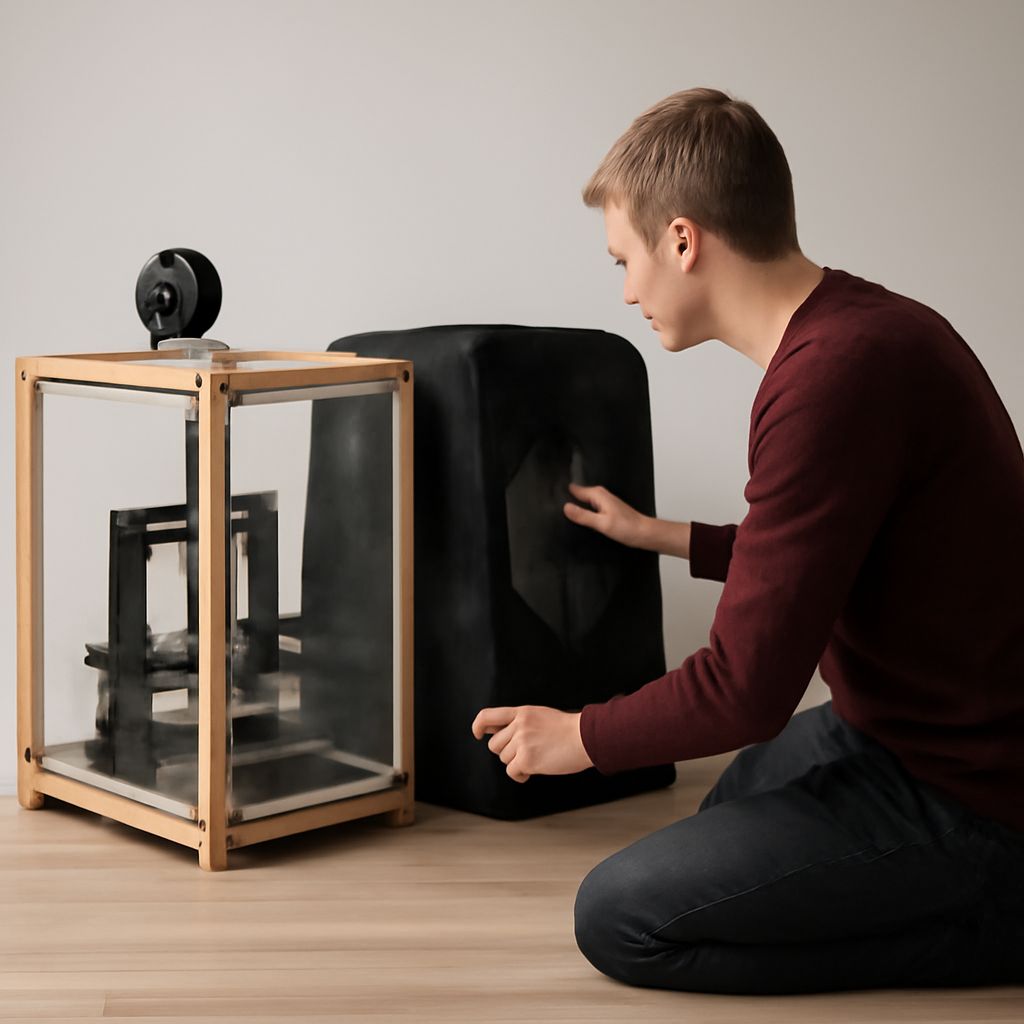
Building a diy 3d printer enclosure from scratch gives you full control over size, features, and cost. The most popular budget method is converting an IKEA LACK side table stack — two tables form a naturally printer-sized cabinet when stacked, with cheap acrylic or polycarbonate panels cut to fit the gaps. A DIY 3D printer housing made from aluminum extrusion profiles and acrylic panels costs more but is rigid, modular, and easy to modify. Some makers 3D-print the frame connectors, turning the printer into its own toolmaker. Adding a temperature controller with a small fan to a homemade printer enclosure gives you active thermal management. Whichever DIY 3D printing enclosure route you choose, plan cable and filament entry points before you cut panels.
LACK Table Hack: Cost and Build Tips
The IKEA LACK table enclosure costs roughly $20 in tables plus $15 for acrylic panels. Use 3mm thick acrylic, which is rigid enough to prevent rattling but light enough to hinge easily. Pre-drill acrylic to avoid cracking. Install a magnetic latch on the door so it stays closed during prints without gaps that let heat escape.
Ready-Made 3D Printer Enclosure Kits
A commercial 3d printer enclosure kit removes guesswork about dimensions and panel fit. Brands like Creality, Comgrow, and Sovol make kits with pre-cut panels, zippered doors, and viewing windows sized to popular bed-slinger and CoreXY printers. A printer enclosure kit typically includes ventilation ports for attaching an activated carbon filter — important for ABS fume extraction. Premium kits use rigid aluminum frames rather than fabric walls, giving better heat retention. When choosing a 3D printer enclosure kit, verify the interior dimensions against your printer’s actual footprint including the toolhead travel range, not just the frame size.
Multi-Axis Printers and Enclosure Considerations
A 5 axis 3d printer — capable of printing on five axes of movement — requires a larger enclosure footprint than a standard 3-axis machine. Multi-axis 3D printing systems also generate more heat from additional stepper motors, so passive enclosures may need supplementary cooling for electronics mounted outside the print chamber. For professional settings, a custom-built rigid enclosure for a five-axis 3D printing machine is usually designed alongside the printer rather than retrofitted. Ensure the enclosure door opening is large enough to access the full build volume for part removal.
Whichever path you choose — diy 3d printer enclosure, a commercial 3d printer enclosure kit, or a custom 3d printer case for a larger machine — the return in print quality and material flexibility is immediate. Start with a basic enclosure and add active heating, filtration, and monitoring as your needs grow.