3D Printer Belt, Controller Board, and PID Tuning Explained
Your print quality has drifted — maybe there’s a banding pattern, ripples in the surface, or temperature fluctuations causing layer inconsistency. Before you replace expensive parts, three areas are worth checking first: the 3d printer belt tension, the health of your 3d printer controller board, and whether your hotend and bed are properly PID tuned. Each of these components has a specific role in print quality, and diagnosing which one is at fault prevents unnecessary spending.
3D Printer Belt: Tension, Wear, and Replacement
How Belt Tension Affects Print Quality A 3d printer belt drives the motion system by transmitting stepper motor rotation into linear movement of the toolhead or print bed. Too loose, and the belt skips or resonates at certain speeds, creating surface artifacts — typically diagonal lines or ringing patterns in the print. Too tight, and the belt puts excess load on bearings and motor shaft bushings, causing premature wear. Proper tension produces a clear musical tone when plucked (like a guitar string): GT2 belts on most printers should register around 40–60Hz when measured with a phone app like Gates Carbon Drive or a generic frequency meter.
Replacing a Worn 3D Printer Belt
GT2 2mm pitch belts are the standard on most FDM printers. They’re sold by the meter and are inexpensive — a complete replacement 3d printer belt for a 220mm bed machine costs $3–$8. Look for cracking, fraying at the teeth, or noticeably elongated tooth profile as signs of wear. Replace both X and Y belts simultaneously if one is worn, since they’ve had the same runtime. After replacement, re-tension and run a ringing test print (a fast-printing cube with text) to verify resonance artifacts are resolved.
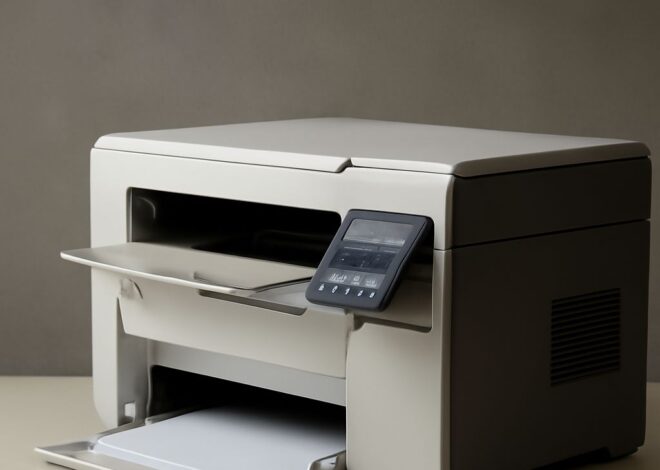
3D Printer Controller Board: What It Does
Functions of the Control Board A 3d printer controller board is the central electronics board that runs the printer’s firmware, controls stepper motor drivers, manages heater outputs, reads thermistor temperatures, and handles all I/O including endstops, fans, and probes. Common controller boards include the Creality v4.2.7, BTT SKR Mini E3, and the Einsy Rambo on Prusa machines. When a 3d printer control board fails or develops issues, symptoms range from erratic motor movement and thermal runaway errors to complete boot failure. Upgrading a controller board is also the most common path to adding silent stepper drivers (TMC2209 or similar), which dramatically reduce printer noise.
When to Replace Your Controller Board Replace a 3d printer control board when: stepper drivers produce unusual noise or erratic movement not resolved by driver current adjustment; heater MOSFETs fail (often causes thermal runaway); USB connectivity stops working; or you want to add features (auto bed leveling, filament runout detection, dual extrusion) that your current board doesn’t support. Prices range from $20 for entry-level replacements to $80+ for advanced boards with 32-bit processors and all-in-one TMC driver integration.
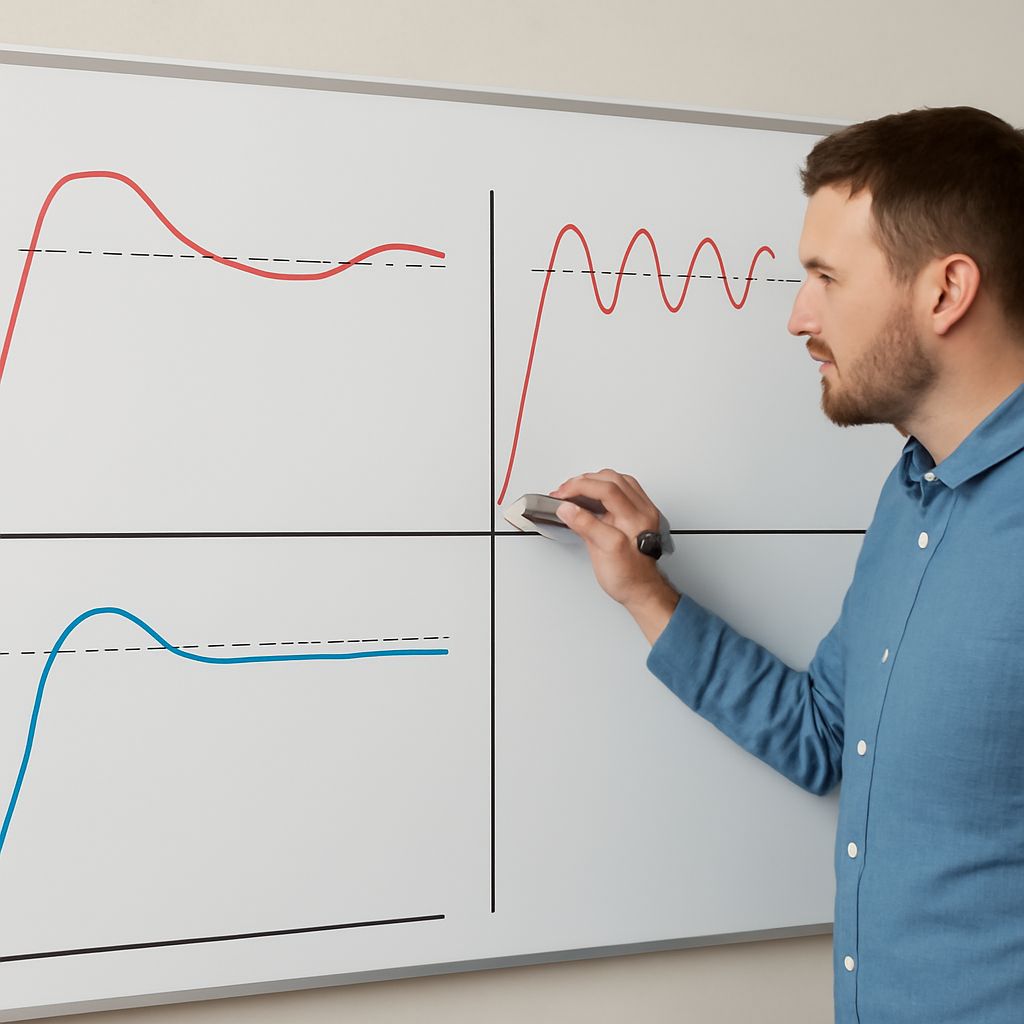
PID Tuning 3D Printer: Temperature Stability
3d printer pid tuning calibrates the hotend and bed heater control algorithms to maintain stable, accurate temperatures with minimal overshoot. PID stands for Proportional-Integral-Derivative — the three mathematical coefficients that determine how aggressively the heater responds to temperature deviation. Without proper pid tuning 3d printer setups often show temperature swings of ±5–10°C during printing, which causes layer adhesion inconsistency and stringing variations.
Running PID autotune is straightforward in most firmware. In Marlin: send the command M303 E0 S200 C8 to the hotend (S200 = target temp, C8 = 8 cycles). The firmware runs the temperature through several cycles and calculates optimal Kp, Ki, Kd values. Save the results with M500. Run the same process for the bed using M303 E-1. After pid tuning, temperature should stabilize within ±1–2°C and hold steady throughout a print. If temperature still swings widely after autotune, check the thermistor connection and the heater block for thermal mass changes (a silicone sock reduces heat loss and changes the PID requirements).