3D Printer Heated Bed: What It Does and Why It Matters
You pull your freshly printed part off the build plate and find the corners have curled up like potato chips. You’ve dialed in your slicer settings, your retraction is solid, and your model looks fine on screen — but the real-world result keeps warping. A 3d printer heated bed is almost always the missing piece. Without controlled plate temperature, many filaments contract during cooling and lift from the surface before the print finishes.
Understanding what a heated bed 3d printer does and how to tune a 3d printer bed heater lets you print reliably with ABS, PETG, ASA, and other materials that standard unheated surfaces struggle with. And if you want to take your setup further, pairing your printer with a 3d printer filament maker using a 3d printer filament extruder lets you recycle scraps and reduce material costs significantly.
What a Heated Bed Does for Your Prints
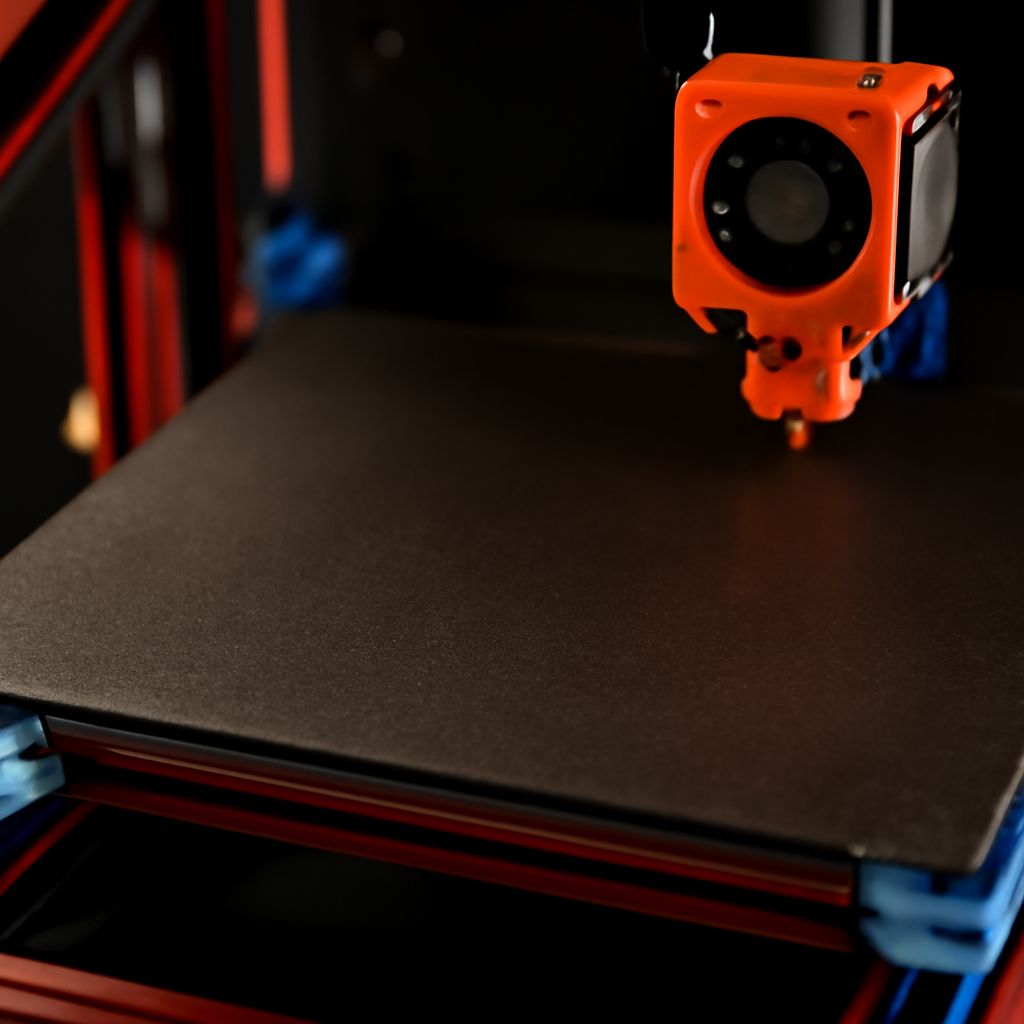
A heated build surface keeps the bottom layers of your print warm throughout the job. This slows the rate at which the material cools and contracts, keeping the first layers bonded to the surface. Without heat, ABS is nearly impossible to print reliably — it warps so aggressively that even large brims fail to hold it down. PETG benefits from moderate bed heat too, typically between 70–85°C. Even PLA, which technically prints fine on an unheated glass surface, benefits from 50–60°C bed temperatures for better first-layer adhesion and easier part removal.
Beyond warping prevention, a warmed plate also helps with adhesion consistency. Cold surfaces cause uneven bonding, especially at edges and corners. With controlled heat, each layer fuses more evenly across the entire footprint of the part.
Does Your Filament Need a Heated Bed 3D Printer?
The short answer is: it depends on your materials. PLA technically works without bed heat, though results improve with it. ABS requires it — without a bed heater, ABS warps on nearly every print. PETG benefits greatly from 70–80°C. TPU and flexible filaments print better on warm surfaces. ASA, polycarbonate blends, and nylon all demand both bed heat and ideally an enclosure to maintain ambient temperature. If you mostly print PLA for casual projects, an unheated bed works. If your material list extends beyond PLA, a bed heater pays for itself immediately in reduced print failures.
Setting Up and Calibrating Your 3D Printer Bed Heater
Getting your heated surface dialed in starts with leveling. A skewed first layer causes the same warping and adhesion issues that temperature solves — you need both. After leveling, dial in temperature through testing: start at the filament manufacturer’s recommended range and bump up 5°C at a time if you still see lifting. Use a thermal camera or IR thermometer to check for cold spots across the plate — inexpensive beds often have uneven heating that causes corners to read 10–15°C cooler than the center.
For surface materials, PEI spring steel sheets have largely replaced glass and BuildTak for most users. PEI grips well when warm and releases parts cleanly when cool. Garolite is preferred for nylon. Smooth or textured PEI sheets handle different filaments differently — textured works better for PETG since smooth PEI sometimes bonds too aggressively.
Exploring a 3D Printer Filament Maker and Extruder Options
A 3d printer filament maker, often called a filament recycler or extruder, melts plastic pellets or failed print scraps and pushes them through a die to form new filament. A 3d printer filament extruder like the Felfil Evo or Filastruder takes pellets or regrind and produces usable spools at a fraction of commercial pricing. The process requires drying your source material thoroughly before extrusion to avoid bubbles and inconsistent diameter.
Diameter consistency is the main challenge — commercial spools hold ±0.05mm tolerance, while DIY extrusion typically achieves ±0.1–0.15mm with careful setup. For non-critical prints or prototyping where tolerances matter less, DIY filament is viable. For fine-detail prints, buying quality commercial spools remains the better option.
Getting the Most from Your Heated Bed Setup
Use a silicone bed leveling mat instead of springs — silicone compresses less and holds adjustment longer. Clean your build surface with 90%+ isopropyl alcohol before each print session to remove oils from handling. If you print enclosure-dependent materials like ABS or ASA, seal your enclosure as much as possible to maintain ambient temperature above 40°C. Finally, never leave a heated bed running unattended for extended periods — a failed print can create fire risk if material accumulates around the heater block or wiring.
Pro tips recap: Match bed temperature to your filament type, level before adjusting heat, use PEI spring steel for most materials, dry pellets thoroughly before filament extrusion, and clean the surface with IPA before every session.