Temporary Tattoo Printer: How to Make Custom Skin Transfers at Home
You want a custom design for a birthday party, a sports event, or a product photoshoot—and you want it on skin without committing to ink. A temporary tattoo printer setup lets you produce professional-looking skin transfers in minutes using equipment you may already own. The key consumable is temporary tattoo printer paper, a water-slide transfer stock that accepts inkjet output and releases cleanly onto skin. If you’ve searched for tattoo printer paper on craft sites, you’ve seen the two main varieties: clear-backed and white-backed. Using 11×17 printer paper sized transfer sheets lets you print larger designs or gang multiple smaller ones on a single sheet. And if you’ve ever wondered how to make a temporary tattoo with printer paper, the process is simpler than most tutorials suggest—print, seal, cut, wet, and press.
What Equipment You Need for a Temporary Tattoo Printer Setup
Printer Requirements
Any standard inkjet printer works for printing temporary tattoos at home. Laser printers produce heat-fused toner that doesn’t bond correctly with tattoo transfer paper, so stick with inkjet. Higher DPI settings—1200 or above—give you sharper line art and richer color gradients that hold up better after transfer. If your printer supports borderless printing on 4×6 or letter-sized media, use it to maximize the usable area of each tattoo transfer sheet.
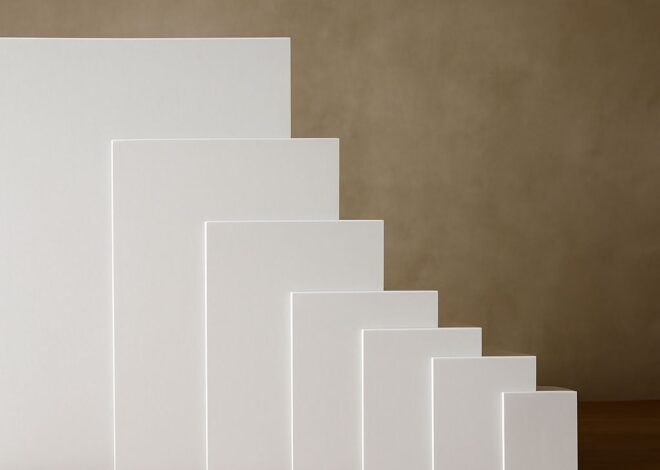
Choosing Temporary Tattoo Paper Clear-backed tattoo printer paper shows the skin tone through the design, giving a more realistic tattoo look. White-backed paper produces brighter, more opaque colors—better for vibrant designs on darker skin tones. Both varieties come in letter (8.5×11) and tabloid (11×17) sizes. The larger 11×17 tattoo transfer sheets cost slightly more per sheet but let you print full-sleeve-style designs or batch 6–8 small tattoos per page, cutting per-unit cost significantly.
Step-by-Step: How to Make a Temporary Tattoo With Printer Paper
Printing and Sealing
Mirror your design in your image editor before printing—this is the step most beginners skip, resulting in reversed text and asymmetric art after transfer. Print at the highest quality setting your inkjet supports, then let the sheet dry for 2–3 minutes before touching the surface. Apply a thin, even coat of the included sealer spray or brush-on seal liquid that comes with most tattoo transfer paper kits. The sealer locks the ink and prevents smearing during the water-activation step. Let it dry completely—at least 5 minutes—before cutting.
Applying the Transfer
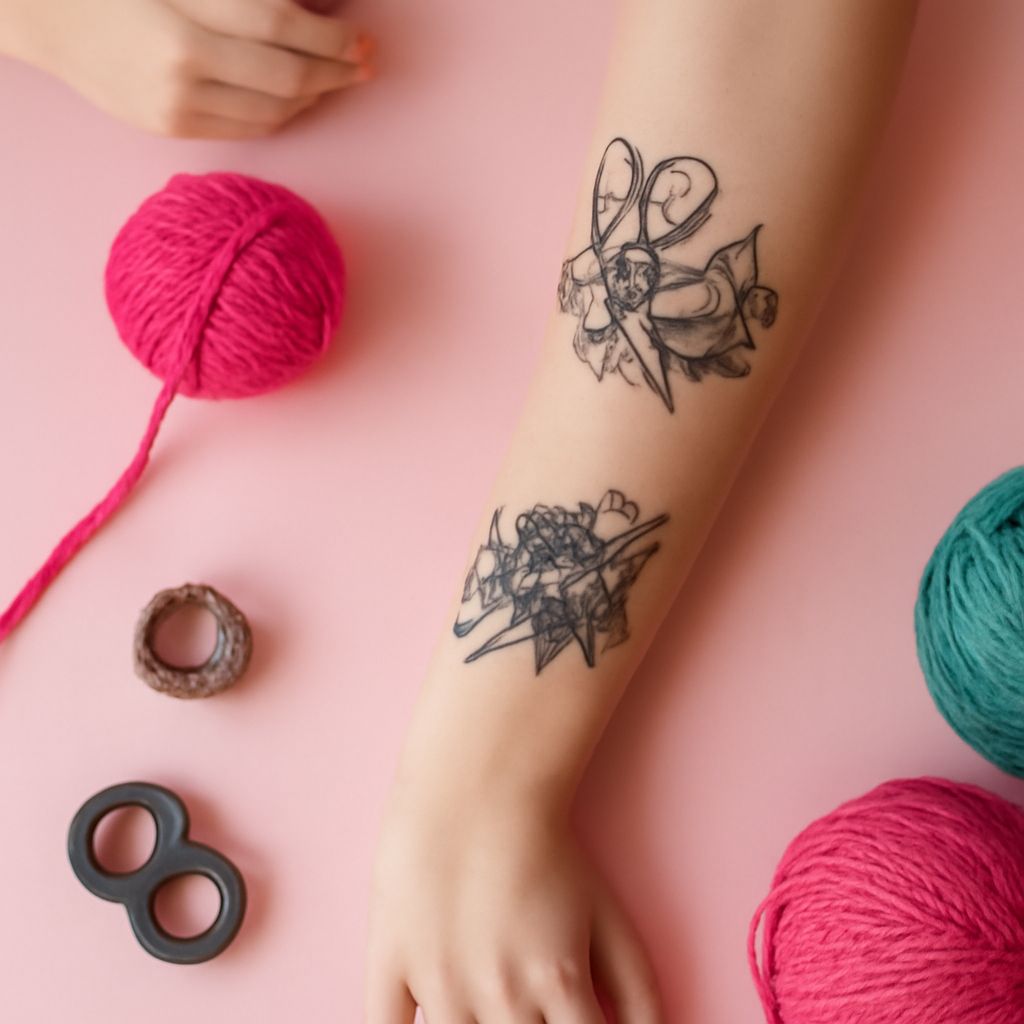
Cut around your design with scissors or a craft knife, leaving a 2–3 mm border. Remove the clear backing film, place the design face-down on clean, dry skin, press a wet cloth firmly over it for 30–60 seconds, then peel the paper backing slowly from one corner. If the design tears or lifts, press the backing back down and hold for another 20 seconds. Let the transferred design air-dry for 2 minutes before touching.
Design Tips for Better Temporary Tattoo Results
Bold outlines transfer better than hairline strokes. Lines thinner than 1 point on screen often disappear or break during the water-activation step, so trace over fine details with a 2-point minimum stroke in your design software. Avoid large solid fills of dark colors—they can crack during transfer. Instead, use gradients or textured fills for broad areas to keep the ink layer flexible. For kids’ party tattoos using standard temporary tattoo printer setups, simple designs with thick black outlines and 3–4 colors produce the most reliable results.
Longevity and Removal
A well-sealed temporary tattoo made on inkjet tattoo transfer paper lasts 3–7 days with normal washing. Avoid rubbing the area with a washcloth; pat dry instead. To remove early, apply baby oil or rubbing alcohol and rub gently in a circular motion. The transfer lifts cleanly without leaving residue. Using skin tape or waterproof sealant sprays over the finished transfer extends wear time on areas exposed to water or friction, like wrists and hands.
Bottom line: A basic inkjet printer plus the right temporary tattoo printer paper is all you need to produce custom skin transfers that look professional and last a week. Mirror your image first, seal before cutting, and use bold line weights for the cleanest results.