3D Food Printer and Best 3D Printer for Cosplay: Two Different Worlds
3D Food Printer and Best 3D Printer for Cosplay: Two Different Worlds
You’ve been hearing about 3d food printer technology showing up in high-end restaurants and you’re curious whether a food 3d printer is practical for home use. At the same time, you’re building a costume for an upcoming convention and searching for the best 3d printer for cosplay to produce armor pieces, props, and accessories. A 3d printer for cosplay and a 3d printer for food use completely different processes and materials, but both represent exciting applications of additive manufacturing outside the traditional engineering context. This guide covers both tracks — what a 3d food printer can actually do, and which printers cosplay makers trust for their builds.
What a 3D Food Printer Actually Does
A food 3d printer extrudes edible materials — chocolate, sugar paste, cheese, dough, or pureed ingredients — through a nozzle layer by layer to build shaped food items. The 3D food printing process uses the same XYZ motion system as a standard FDM plastic printer but replaces the hot end with a food-safe syringe or extruder compatible with soft edible pastes. Commercial 3D food printing machines are used by pastry chefs for intricate chocolate sculptures and by airline catering companies for custom-textured meals for patients with dysphagia (swallowing disorders). Consumer food 3D printer units for home use focus mainly on chocolate — brands like Cocoa Press and BYFLOW produce dedicated chocolate 3D printing machines. A 3D printer for food does not cook or bake the output; it shapes raw or semi-processed edible materials that must still be prepared conventionally afterward.
Is a Food 3D Printer Practical for Home Use?
A home food 3D printer for chocolate production works but requires refrigerating the output, carefully tempering chocolate, and accepting slower production than a standard mold. Food-grade 3D printing at home is most practical for producing custom shapes — wedding cake toppers, branded chocolates, or character-shaped candy — where the shape itself is the value. For everyday cooking, a food 3d printer offers limited advantage over traditional kitchen tools. The cost of consumer food 3D printers runs $1,500–$5,000, making them specialty kitchen equipment rather than daily-use appliances.
Best 3D Printer for Cosplay: Key Requirements
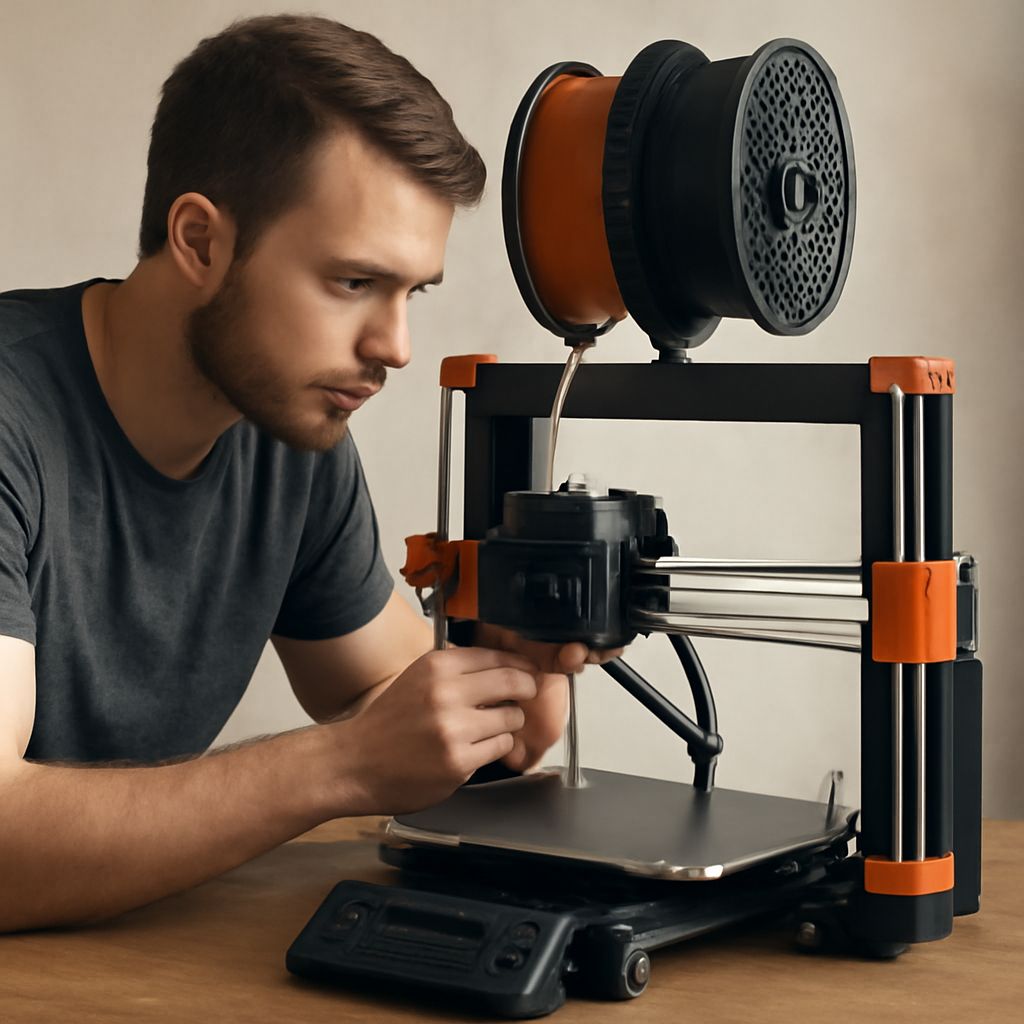
A cosplay 3D printer must handle large builds, fine surface detail, and paintable materials. The best 3d printer for cosplay typically runs on PLA or PETG for structural parts, with resin printers handling highly detailed small props. Build volume is the first concern: a cosplay 3D printing machine with a 300x300x300mm or larger build area lets you print helmet pieces and breastplate sections without splitting them into too many parts. Layer resolution at 0.1mm or below produces smooth surfaces that require less sanding before painting. Creality Ender 3 Pro, Bambu Lab A1, and Prusa MK4 are among the most recommended 3D printers for cosplay by the cosplay maker community, balancing cost, build volume, and print quality.
Materials for Cosplay 3D Printing
PLA is the standard starting material for a 3D printer for cosplay builds — it’s easy to print, sands well, and accepts primer and paint without special preparation. PETG is preferred for parts that need flexibility, such as pauldrons and shin armor that must flex with movement. ABS is used for parts requiring heat resistance (worn near stage lighting) or post-processing with acetone smoothing for a near-injection-molded surface finish. For fine detail work — buckles, emblems, and jewelry — an SLA or MSLA resin printer delivers better resolution than any FDM cosplay 3D printing machine at the same price point. Most serious cosplay makers own both an FDM printer for large structural pieces and a resin printer for small detail props.
Finishing Cosplay 3D Prints
Raw 3D-printed cosplay parts need surface finishing before painting. Apply filler primer in two to three thin coats and sand with 220–400 grit paper between coats. XTC-3D epoxy coating from Smooth-On fills layer lines and creates a hard, smooth surface in a single application. For a chrome or metallic finish on a cosplay 3D printer piece, use rattle-can chrome paint as a base, then apply a metallic wax or Alclad II lacquer for depth. Flexible TPU filament printed parts can be finished with Plasti-Dip for a rubber texture and color.
Key takeaways: A 3d food printer makes sense for professional pastry chefs and specialty food production, not everyday home cooking. The best 3d printer for cosplay prioritizes large build volume, fine layer resolution, and compatibility with PLA and PETG. For serious cosplay builds, pair an FDM machine for structural pieces with a resin printer for detail props.